Well, that's not entirely true. We did improvise a curtain in our bay window just to help block the sun from shining directly in our faces in the morning...

That may or may not be a towel duct taped to the window. Don't hate.
So anyways, fast forward to now and we finally have made some progress and our windows are fully dressed. Getting to the final product has been a bit of a journey, however. I've written and re-written this post a few times at this point, detailing all of the missteps along the way, but it ends up being insanely long. And I just have a feeling no one wants to spend 15 minutes reading about our friggin' curtains. So I'm going to abbreviate significantly. You're welcome. How 'bout just a quick list of all our OOPSIES and subsequent resolutions (and maybe a picture or two).
Conundrum #1: The curtains we fell in love with are super sheer, and therefore wouldn't have done much as far as blocking light or providing privacy. We solved this one by opting to hang blackout curtains behind the sheer curtains (other options included sewing some sort of liner to the back of the curtains, etc).
Conundrum #2: The first blackout curtains we brought home were a bizarre size and ended up looking like this:

Too small to cover the entire window. We solved this by returning them and buying a different brand that were actually a normal size (and ended up being much better quality overall).
Conundrum #3: How to hang the two sets of curtains together. Toyed with sewing them together, as I mentioned above, but wanted to be able to just have the sheer curtains closed if we felt the need. So then our options were buying a double-rod set or finangling our own DIY version of a double-rod system. While shopping for a double-rod set, Phil emphatically decided he could DIY it himself, so we went that route. Fast forward a couple weeks, after we have finished hanging the two sets of rods, we are at the store and Phil sees a double-rod set and exclaims "WHAT? Those exist? We could have just bought one of those instead of dealing with creating the system ourselves?!" Phil's brain works in mysterious ways. Anyways, we ended up hanging a simple cafe rod for the blackout curtains.


Then it was just a matter of popping the rods on and hanging the curtains!


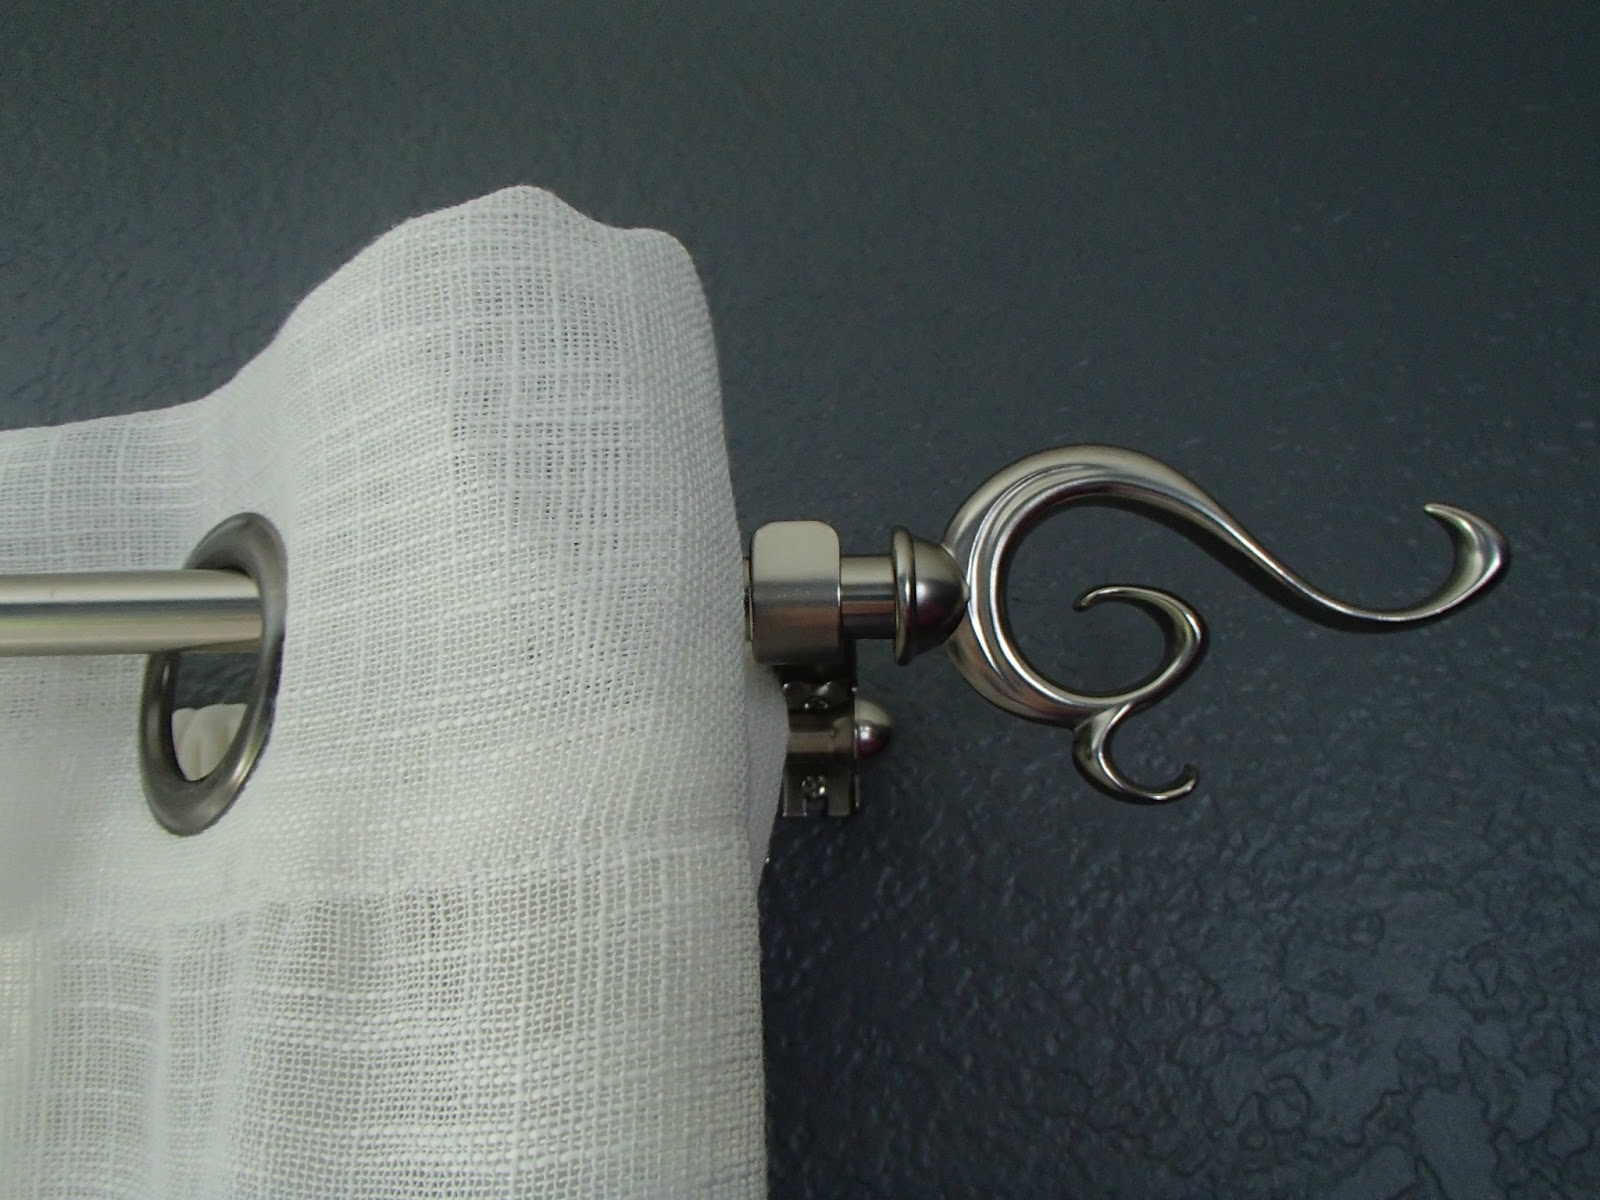
As you can see, the rods nestle perfecly and you can barely see the cafe rod peeking out underneath the decorative rod.
Oh but if only this was the end of the Never-Ending Curtain Saga.
Condundrum #4: The thick, heavy blackout curtains did not slide easily on the cafe rod, so much so that it pushed the telescoping cafe rod out to it's max length everytime you tried to move the curtains, and also required much elbow grease to fully open the curtains. We tried to MacGuyver a solution using a rubber band and hot glue (the idea being to stop the rod from telescoping), but that worked for about a day. And even if the rod didn't telescope, it was still a huge pain to wrangle the blackout curtains open every day. Finally we decided to get curtain rod clips to attach the blackout curtain to the rod so that it would slide more easily. This did the trick, and after a solid month or so of constant curtain snafoos, we were finally done with that project.
And that being said, drumroll please....


View #3: All curtains open. (The snow outside shows you how long I've been procrastinating posting this sucker)Glorious, no? Oh, and I shouldn't ignore our other lil' window in the room.. basically just rinsed and repeated the entire process over there..

Naked window before (and yes our lamps hang out on the floor because we have yet to finish our nightstands - although those ARE in progress at this point. Just currently waiting to cover up a big OOPSIE of the awful paint choice we initially made).


Same double rod system on this window too (but imagine current rod clips on the blackout guy).
Phew. Glad to have that one tackled. Ashamed that my abbreviated version of this post is still insanely long. If you are still reading at this point, wow. Congrats. You have the endurance of a champion. Thanks for hanging in there.
Oops Count: Three sounds about right.
Lessons Learned: Too many to summarize here. I know more about the ins and outs and intracies of hanging curtains than I ever thought possible. I think all the lessons I learned are pretty well touched on above, though.
No comments:
Post a Comment