Wednesday, May 22, 2013

No, seriously, never leave our house.

I already shared my little crafty art addition to our entryway here, and I'm back to share another update to that space. 


Voila! While hunting through our favorite flea market, I found this little vintage print that just so happened to be 50% off. The sentiment is cute and obviously goes with our "Welcome to our house, please, never leave" message that we are apparently trying to convey to our guests.


If you can't read it, it says "Our home is just a stopping place for those who come this way. We're glad to see each smiling face, and which they all might stay."

I love the colors (the blue in the new print goes nicely with the blue frame next door), and the awesome vintage quality makes me feel happy inside. I also love that it not only fills up that space a bit more (the one frame on that wall felt a little lonely), but now our guests will have no doubts that if we had our way, we'd lock them up in our basement forever, hang out with them, like, all the time if we could.

Oops Count: Zero! Good confidence booster to know I can simply hang up a small frame without any missteps. A year ago I might not have been able to say that.

Tuesday, May 21, 2013

Finally We Can Stop Flashing the Neighbors

Yes, our bedroom has been curtainless since December.  When we moved in, our master bedroom came with some pretty nice, custom accordion blinds on the windows. No complaints until it came time to redecorate and we hit a snag when we realized the dark jade green blinds would not jive so well with our new color scheme. So when we started painting, we said goodbye to those blinds and due to the 6-month-and-counting process of finishing the bedroom, have had naked windows ever since.

Well, that's not entirely true.  We did improvise a curtain in our bay window just to help block the sun from shining directly in our faces in the morning...


That may or may not be a towel duct taped to the window. Don't hate.

So anyways, fast forward to now and we finally have made some progress and our windows are fully dressed. Getting to the final product has been a bit of a journey, however.  I've written and re-written this post a few times at this point, detailing all of the missteps along the way, but it ends up being insanely long. And I just have a feeling no one wants to spend 15 minutes reading about our friggin' curtains. So I'm going to abbreviate significantly. You're welcome. How 'bout just a quick list of all our OOPSIES and subsequent resolutions (and maybe a picture or two).

Conundrum #1: The curtains we fell in love with are super sheer, and therefore wouldn't have done much as far as blocking light or providing privacy. We solved this one by opting to hang blackout curtains behind the sheer curtains (other options included sewing some sort of liner to the back of the curtains, etc).

Conundrum #2: The first blackout curtains we brought home were a bizarre size and ended up looking like this:

 
Too small to cover the entire window. We solved this by returning them and buying a different brand that were actually a normal size (and ended up being much better quality overall). 

Conundrum #3: How to hang the two sets of curtains together. Toyed with sewing them together, as I mentioned above, but wanted to be able to just have the sheer curtains closed if we felt the need. So then our options were buying a double-rod set or finangling our own DIY version of a double-rod system. While shopping for a double-rod set, Phil emphatically decided he could DIY it himself, so we went that route. Fast forward a couple weeks, after we have finished hanging the two sets of rods, we are at the store and Phil sees a double-rod set and exclaims "WHAT? Those exist? We could have just bought one of those instead of dealing with creating the system ourselves?!" Phil's brain works in mysterious ways. Anyways, we ended up hanging a simple cafe rod for the blackout curtains.

 
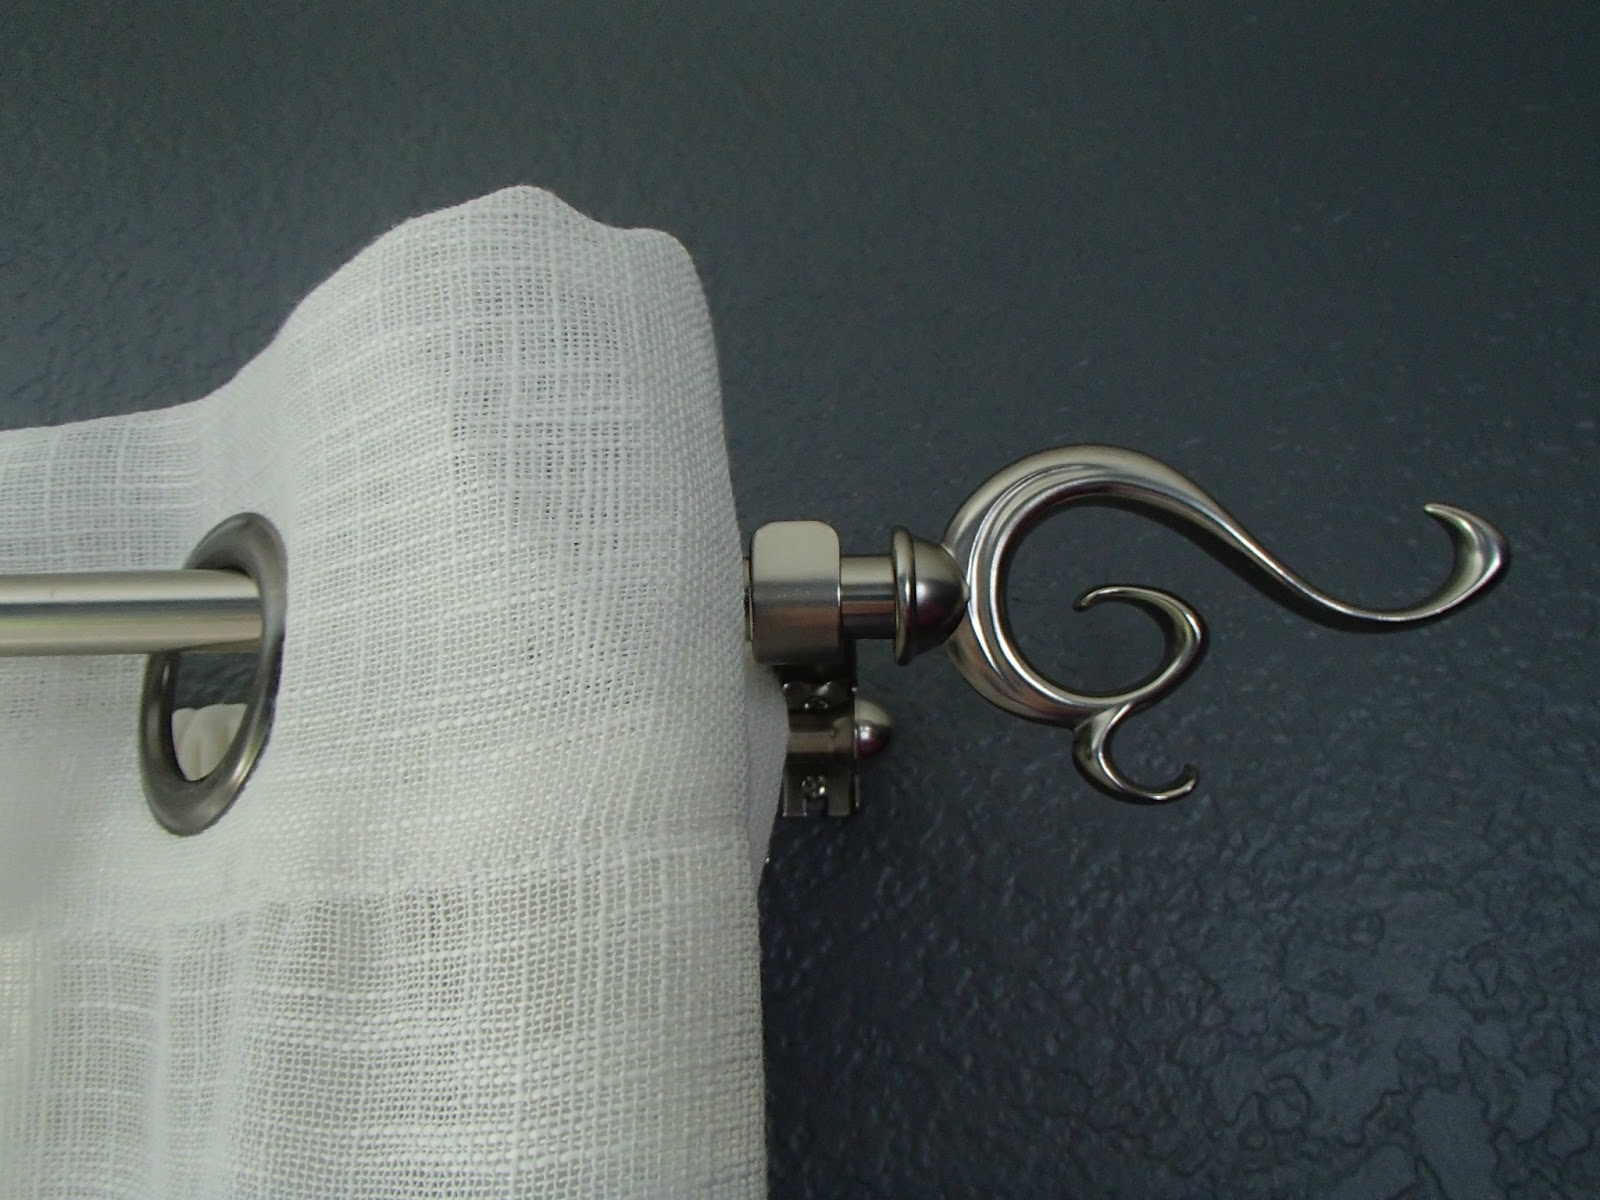
Followed by a larger, decorative curtain rod for the sheer panels. Luckily the hardware for each rod were the perfect size in relation to each other, so the decorative rod hung just in front of the cafe rod.

 
Then it was just a matter of popping the rods on and hanging the curtains!


As you can see, the rods nestle perfecly and you can barely see the cafe rod peeking out underneath the decorative rod.
 
Oh but if only this was the end of the Never-Ending Curtain Saga.
 
Condundrum #4: The thick, heavy blackout curtains did not slide easily on the cafe rod, so much so that it pushed the telescoping cafe rod out to it's max length everytime you tried to move the curtains, and also required much elbow grease to fully open the curtains. We tried to MacGuyver a solution using a rubber band and hot glue (the idea being to stop the rod from telescoping), but that worked for about a day. And even if the rod didn't telescope, it was still a huge pain to wrangle the blackout curtains open every day. Finally we decided to get curtain rod clips to attach the blackout curtain to the rod so that it would slide more easily.  This did the trick, and after a solid month or so of constant curtain snafoos, we were finally done with that project.  
 

And that being said, drumroll please....

 
View #1: Blackout curtains + decorative curtains closed.  Obviously they don't "blackout" the room entirely, but they keep enough light out that sleeping in can certainly occur.

 
View #2: Blackout curtains open, decorative curtains closed.


View #3: All curtains open. (The snow outside shows you how long I've been procrastinating posting this sucker)

Glorious, no? Oh, and I shouldn't ignore our other lil' window in the room.. basically just rinsed and repeated the entire process over there..


Naked window before (and yes our lamps hang out on the floor because we have yet to finish our nightstands - although those ARE in progress at this point. Just currently waiting to cover up a big OOPSIE of the awful paint choice we initially made).

 
Gussied up window after. (Excuse the poor photography on this one.) Oh and we have since added one tie-back on the right hand side of the window to hold these curtains open. It's a simple silver guy, not worth the time and effort to take a picture. Take this opportunity to exercise your imagination.


Same double rod system on this window too (but imagine current rod clips on the blackout guy).

Phew. Glad to have that one tackled.  Ashamed that my abbreviated version of this post is still insanely long. If you are still reading at this point, wow. Congrats. You have the endurance of a champion. Thanks for hanging in there.

Oops Count: Three sounds about right.

Lessons Learned: Too many to summarize here. I know more about the ins and outs and intracies of hanging curtains than I ever thought possible. I think all the lessons I learned are pretty well touched on above, though.


Monday, May 6, 2013

Our First Houseiversary

I'm in the dog house with my... house. Yes, I forgot our anniversary.  May 4th, our closing date, came and went this weekend without me thinking twice about the special day.  But I DID finally remember a day later, and here I am trying to make it up to my sweet, sweet house. Please forgive me, baby.

Anyway, I just felt it appropriate to commemorate 1 year passing by writing a blog post. I figure a good old fashioned summary of what we've done so far, and what we have yet to do, is a good way to look back and simultaneously feel proud of all the work we've done and ashamed at all the work we've yet to get to. Here we go.

CHECK! Stuff We Have Done So Far:
- Paint entire main floor (living room, kitchen, stairway, upstairs hallway, dining room, entryway, hallway, etc.)
- Refinish kitchen cabinets
- Furnish living room with new coffee table, tv stand and rug.
- Paint and furnish guest bedroom
- Paint and furnish guest bathroom
- Get rid of swing set in backyard
- Furnish sun room
- Misc. decorating in living room and kitchen.
- Paint master bedroom and bathroom
- Refinish master bathroom cabinets
- Paint bedroom furniture (dresser, armoire, nightstands - somewhat in progress)
- New blinds/curtains in kitchen, living room and master bedroom
- Insulate attic fan
- Scrape/paint/caulk siding that was warped/peeling/rotting to prevent further water damage.
- Start organizational/storage systems in garage and basement bedroom
- Start compost bin
- Other misc. little furnishing/decorating items not worth detailing

Wow. That does not feel like a lot. I sat there for a good minute wracking my brain for other stuff we've accomplished, because I really felt like we've done more.  I guess a lot of those things were big undertakings, so I shouldn't be too ashamed.

Our Current To-Do List: Stuff Yet to be Done
- Build and paint new bed for master bedroom
- Decorate master bedroom
- Finish painting/decorating master bathroom
- Decorate/furnish dining room (rug, curtains, new lighting, art)
- Build built-in bookcases & window seat in front sitting area/entryway
- Furnish sitting area with seating, table(s) and rug
- Create giant frame wall in front sitting area
- Continue decorating living room/entryway/stairway/upstairs hallway, etc.
- Repaint trim on main floor bright white (it's peeling and chipping in a lot of places and it's more of a creamy off-white than we want)
- Paint/furnish/decorate half-bath
- Clean out/organize garage (goal: fit both cars!!)
- Replace gravel pit in backyard (former base for swing set) with grass (and reconfigure sprinkler system as a result)
- Plant veggie garden in the raised garden bed
- Paint/furnish/organize "office" in one of the upstairs bedrooms
- Finish unpacking (yes we still have random stuff shoved into empty bedrooms that hasn't been unpacked yet. Oy.)
- Paint exterior of house
- Replace counter tops, sink, appliances and possibly cabinets(?) in kitchen
- (This one is for Phil) Replace concrete "slab" on west side of the house w/ more attractive stone and build built-in grill/outdoor kitchen system (I call bullshit on this one!)

That's about it. There are lots of other little projects around the house that I didn't figure are worth mentioning, but those are our big to-do's as it stands now.

So I guess our to-do list is quite longer than our "done" list, but I suppose that's how it goes. We knew going into it that it would be years upon years of constant updating to make the house exactly what we want, and given we both work full-time, are operating on a relatively tight budget, and both have a solid lazy streak, I guess this is about where we should be. Especially that alongside all of those little updates, we've also had to just keep up with general house-maintenance, like keeping up the yard, making small repairs here and there, etc. So all in all, one year later, our house is still standing and looking more and more like OUR house, so I'm calling it a successful first year.  It will be interesting to see what I have to say about the house this time next year.


So cheers to you, first house of hours, on our first houseiversary! How far we've come since one year ago when we first hung out, drinking mimosas out of plastic cups on our first day together. Our love has only grown deeper. Here's to another fantastic year of trying not to burn you down!

Monday, April 15, 2013

Nya Kuddar

If you know Swedish (or have access to Google), you already know what this post is all about. During our latest pilgrimage to the local Ikea, Phil and I finally put to rest a lingering to-do.  See, when we bought our couches a couple years ago, they came with these super swell pillows:
 
 
Hopefully you can smell the sarcasm from where you're sitting.  As you can see they are super bland, boring, and over the years got kind of saggy and deflated.
 
 
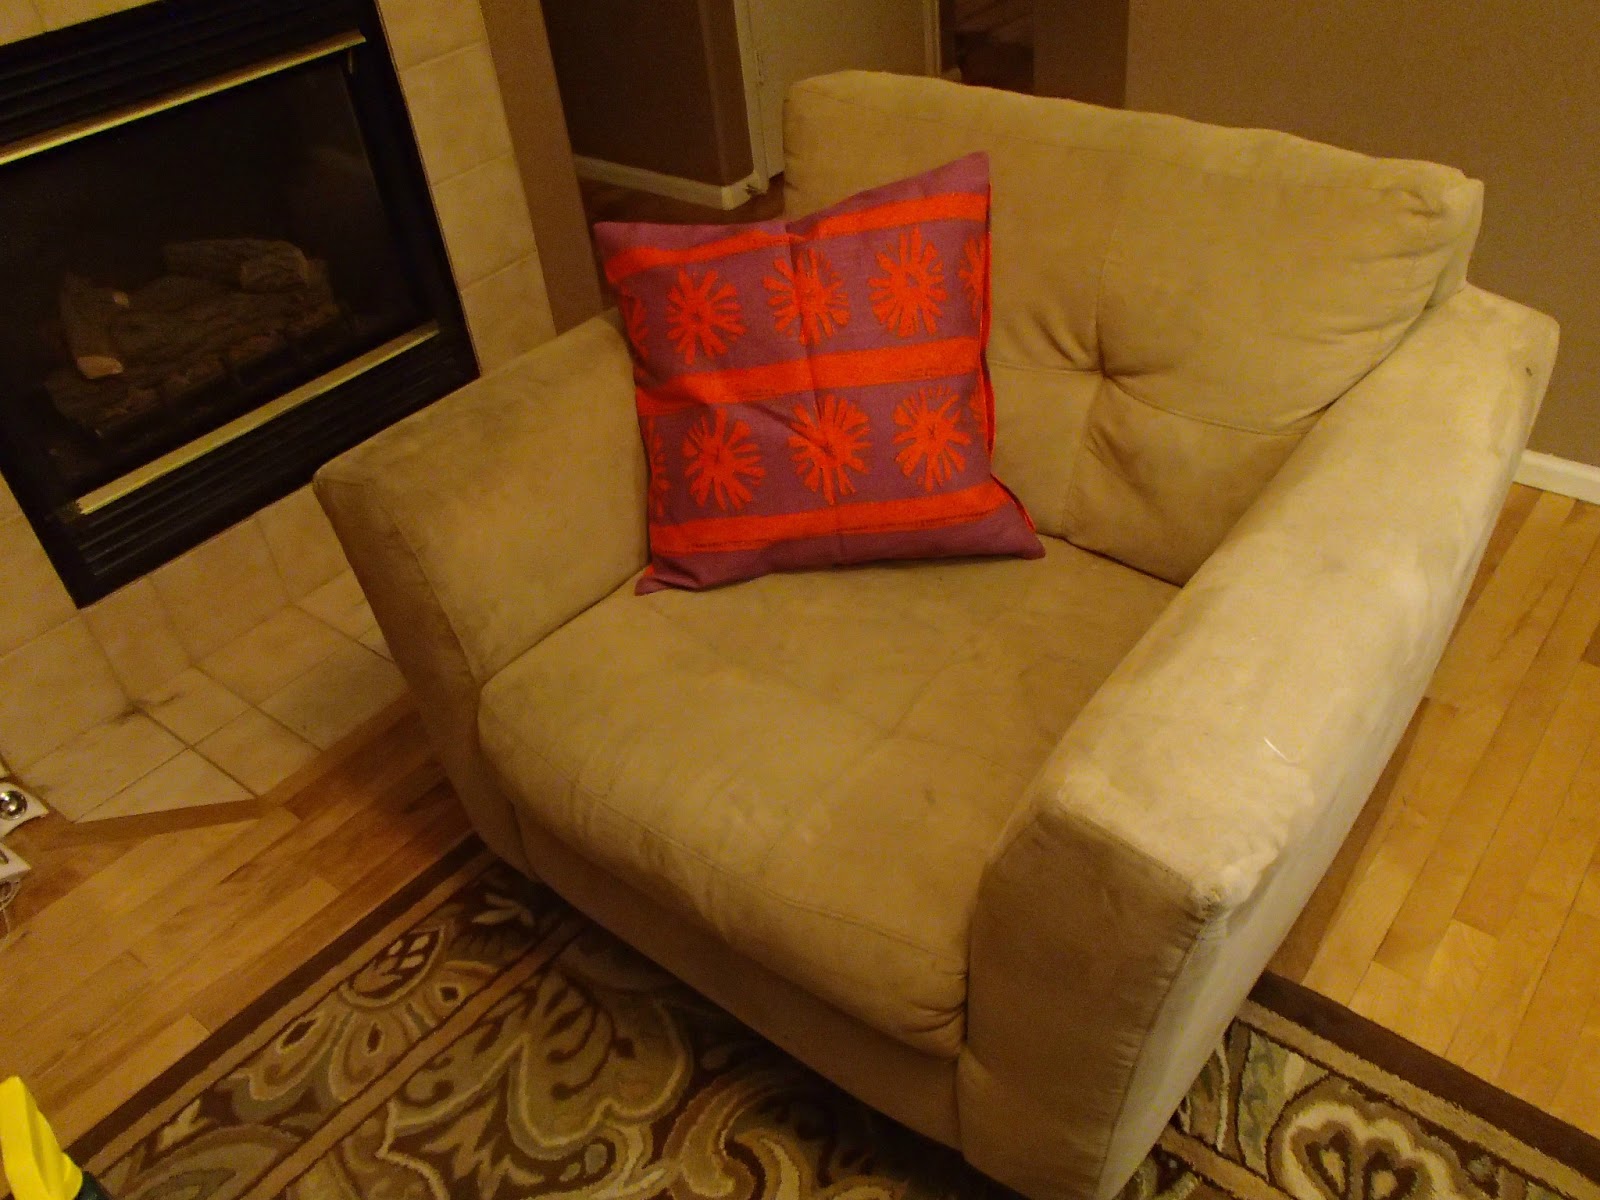
Our matching chair came with no pillows, so constantly felt naked and empty. (When it isn't full of our junk that we are too lazy to put in it's proper place, that is). 
 
 
Even throwing one of the sad couch pillows on it didn't really do much....
 
 
 While we hadn't done a ton of serious pillow shopping, it was definitely one of those things we've been constantly keeping our eyes out for. In the meantime, while we waited to find something that fit all of our joined criteria (colorful, modern, fun and comfy [as in so-comfy-I-can-put-my-drool-covered-face-on-it-and-take-a-hearty-nap comfy]), I tried an interim solution inspired by this which I came across on Pinterest a while ago. For those not feeling the need to click the link, the idea is to simply use a piece of fabric to make no-sew pillow covers by kind of wrapping the pillows in the fabric like a present. So I tried this with an old sheet we had laying around and, well, needless to say this project belongs on the "Pinterest Fail" site fo sho:


 It's a hot mess, as you can see. So while it was kind of nice to at least have the bland, saggy, microsuede fabric covered and to have a little color variation on the couch, it was definitely no more than a still very sad, temporary solution.

 Then finally, Sir Ikea delivered (fun fact, "Sir" in Swedish is.... Sir.)


Blam-o. I love that the couch pillows are so huge - at first I was worried they were TOO huge and looked totally bizarre- but now I'm convinced it ups the fluffy-comfy factor of our couch exponentially. Just makes you wanna plop down and snuggle, doesn't it? I love the colors, and love how it ties into the ever-developing red/orange accent color scheme we now have going on in the kitchen and living room, and the added bonus of a hint of purple and a little bit of pattern on the chair pillow is super fun.  Check out how nicely they tie into some of the red pops in the kitchen (forgive the poor photography, I really should have turned off that lamp before taking this shot): 


And last, but not least, I love how comfy they are! Given the huge-factor and the soft, velvet fabric they are 110% nap-worthy.  Here I am pretending to dream about how much I love our new pillows on our awesome new pillows.


Oh, and most importantly, Piper approves.


So there you have it, one more example of how the tiniest little thing can make a big impact on your space. Our living room looks so much more stylish, comfy and intentional now. Tack sÄ mycket, Ikea. (Boom, you've just been Swedished.)
 
Lesson(s) Learned: Once again, the ever-present home improvement lesson of "patience is a virtue" has popped up.  As well as the, "never underestimate the power of a tiny update" lesson. And then lastly, the lesson that the exhausting trip to Ikea is worth the tiny bit of your soul that will be sucked out in the process.
 
Oops Count: One, and that would be the massively failed pillow cover project. Oh well, at least it was one of those projects that didn't cost me any money, and only took about 10 minutes of my life.

Friday, March 22, 2013

Yarnmaste.

Well here I am with the first post the makes the new title of the blog make sense.  As I mentioned here, I do a lot of non-house-improvement related stuff that I thought I might want to share someday, and so here I am, sharing such things.  As those of you reading may or may not know, a little over a year ago I acquired the fairly random skill of crocheting.  I attended a beginning crochet class with my mom as her Christmas present last year, and surprise surprise I actually ended up really enjoying it.  Ironically, my mom never quite got the hang of it and gave up shortly after the class ended.  Unlike me, who pushes through my failures, my mom tends to give up after a few dozen oops.
 
Anyways, recently, for my friend Kelly's birthday I tackled my largest crochet project to date (so far I've tackled hats, headbands, iPad covers, earrings, bracelets and flowers).  Kelly is in training to be a yoga teacher, and sadly was without a bag for her yoga mat. So I decided to up and make her one. 
 
 
Boom.

 
Kapow.


As you can see, I even managed to create a drawstring closure at the top, which I was surprised turned out as well as it did (it was actually ridiculously easy).

 
Here it is in action on my back (Piper photobomb alert).
 
I definitely did not create this pattern on my own, I used a pattern I found at Joyful Abode here.  I definitely am not skilled enough to make up my own patterns (yet?). But I did change up the colors and striping pattern on my own, so I put maybe 1% of my own creative juices into the project. Oh and bonus points to me that I was able to use all the yarn out of my already owned stash, so all this project cost me was some blood, sweat, tears, a few bajillion hours of my life and early-onset arthritis.
 
Oops Count: About 2.  See, I tend to be the Goldilocks of crocheting.  As with most of my projects, my first go around with this bag was too big.  So I unraveled and started over. Attempt #2 was too small. Finally, on attempt #3, it was juuuuuuust right. This is a pattern with me, I've learned to expect to have to start over any given crochet project at least once or twice. C'est la vie.
 
Lesson Learned: This is more a lesson the people in my life have had to learn. Basically, anytime a gift-giving occasion comes around, you can expect to receive something crocheted. Whether you like it or not. So you'd better start liking crocheted crap. :) 


Thursday, March 21, 2013

Insanity Loves Company

I already mentioned one of the projects I tackled at a recent Pinterest Party I hosted (aka eat, drink, be crafty with friends) here, but now I want to share one more project I conquered during that time (apparently copious amounts of sangria = productivity overload! I actually completed three projects during that party. Go me.)

So in this post you saw the awesome haul of stuff we found at a whirlwind trip to local thrift stores one Saturday.  To refresh your memory, here's what we walked away with:


Well that blue frame and the jute twine you see there got together and created an awesome lovechild for our front entryway.


This is a card that Phil got me for our anniversary a couple years back. I thought the sentiment was a perfect way to welcome friends and guests over as they enter our house.


I stumbled across the card in a basket of random stuff in our yet to be unpacked "office," and apparently I'm on a big framing-greeting-cards kick (I did it in the kitchen, too, as you can see here), so I rolled with it.  I loved the blue frame as is, and thought the blue went nicely against the chocolate milk colored walls, and added a fun punch of color.  However, the card wasn't quite big enough to fill the frame, and I didn't have a mat to use (so you could see the back of the frame around the edges of the card.  I could have just plopped some paper behind the card to cover up the naked back of the frame, but decided to get a little more creative than that.  Enter jute twine! I simply hot glued the twine around the frame to create a mat that covered up the empty space in the frame and added a really fun and unique element to the project in general. Love.

Oh, and one thing I've always grappled with when you hang picture frames is what the heck to do with those pesky stands that are on the back (to make the frame table-top ready).  I've ruined a few frames trying to just rip those suckers off (they are bolted on there with super-Hulk-strength hardware usually).  This time around I just decided to leave it be, and I just hot-glued the stand to the frame so it laid flat (otherwise it pushed the frame out from the wall just a touch). Hot glue cures all ailments. (Has anyone else figured out how to get around those things, though? I feel like there's gotta be a way to get rid of them and I just somehow missed the memo...)


There ya go. Just one more small step towards our house feeling more and more like home.

So, as the card states, insanity loves company. Come on over. :)

Oops Count: Zero! Wow. Gotta take these small wins when I can get 'em.

Lesson Learned: A giant ball of jute twine for $2.50 really is a brilliant purchase. Can't wait to see what else I can use that stuff for in the future. As of now, I see a jute twine wrapped vase in my near future.... (oh and I just thought you should know that only after proofreading this a handful of times I just noticed I had originally written "jute twine wrapped face." This is why you don't blog under the influence of cold medicine).

Wednesday, March 20, 2013

I Can't Think of a Good Armoire Pun

As I've already mentioned here and here  we are in the midst of (and probably finally over the halfway hump) redecorating our master bedroom and bathroom. Today I'm happy to report that one more element of that mass redecoration has been checked off the list!

We bought an armoire last summer from an old high school classmate of mine, and at the time didn't quite know what we were going to do with it but knew we would make good use of it somehow.  We finally decided it would be perfect for our bedroom, to house our TV (and other miscellaneous junk).  It started out black, like this:


As you may remember from my post about the plans for our bedroom color palette here all of the furniture going into the bedroom was destined to don a funky bright color, this armoire not excluded. We decided on Raspberry Mousse for this big guy, and now he is a tad more flashy, in an amazing sort of way: 


Oh yes, glorious.  To get this puppy looking like this, we sanded the armoire just enough to scratch up the surface, and followed with 2 coats of Zinsser's water-based primer.  
 
 
The paint guy at the Depot was kind enough to suggest tinting the white primer to help get the color where we wanted, so he brought the primer halfway to the actual color to help with that process (something I hadn't thought of before, so I was glad he suggested it!).  Followed by 3 coats of paint, here we are! We also spray painted the knobs with a couple coats of a metallic black spray paint just because they were a little dinged up. 


Here he is flashing you his goodies.  I love having the TV somewhere you can hide it away if you want, since TV's tend to not be all that nice to look at when you're not actually watching them. Plus it has additional storage for future stuff we are sure to accumulate.  And may I please say this is quite an upgrade from having our TV propped up on a box on the floor in the bedroom, which has been our setup since May. Yikes. 

Oh, and spoiler alert, you can get a sneak peek at the wall color in the bedroom in these pictures.  Our vision is turning out just how we had wanted, and we are feeling very optimistic now that we are getting closer to the finish line. Soon, grasshopper, soon. 

Oops Count: Possibly 1. I had read on other blogs that when painting over glossy, laminate-esque surfaces (like this guy was sporting), that Zisser's oil-based primer was the best at covering.  I was talked out of it by the Depot-guy and went with the water-based on his recommendation.  However, given that it took 2 coats of primer and 3 coats of paint to get this thing covered, and even then it's not crazy durable (the paint scratched off pretty easily and we had to touch up quite a few spots after hauling it upstairs), I'm thinking the blogosphere might have really known what they were talking about.

Lesson Learned: TBD. I think next time I'll try the oil-based primer and see for myself which is really better. Other than that one possible misstep though, this was a rather seamless process. Nice to have one of those every so often for a nice change of pace.